Identify the kind of joint
The line between tiles may contain cement-based grout, resin grout or another product. A flexible joint at a corner or around a bath usually serves a different purpose. Do not treat them as interchangeable. Consult renovation records or the installer, especially where natural stone is involved. A dark line may reflect surface dirt, moisture or deterioration; colour alone does not identify the required product or establish that cleaning will be enough. Knowing the installed material makes the next decision less speculative.
Start with a small area
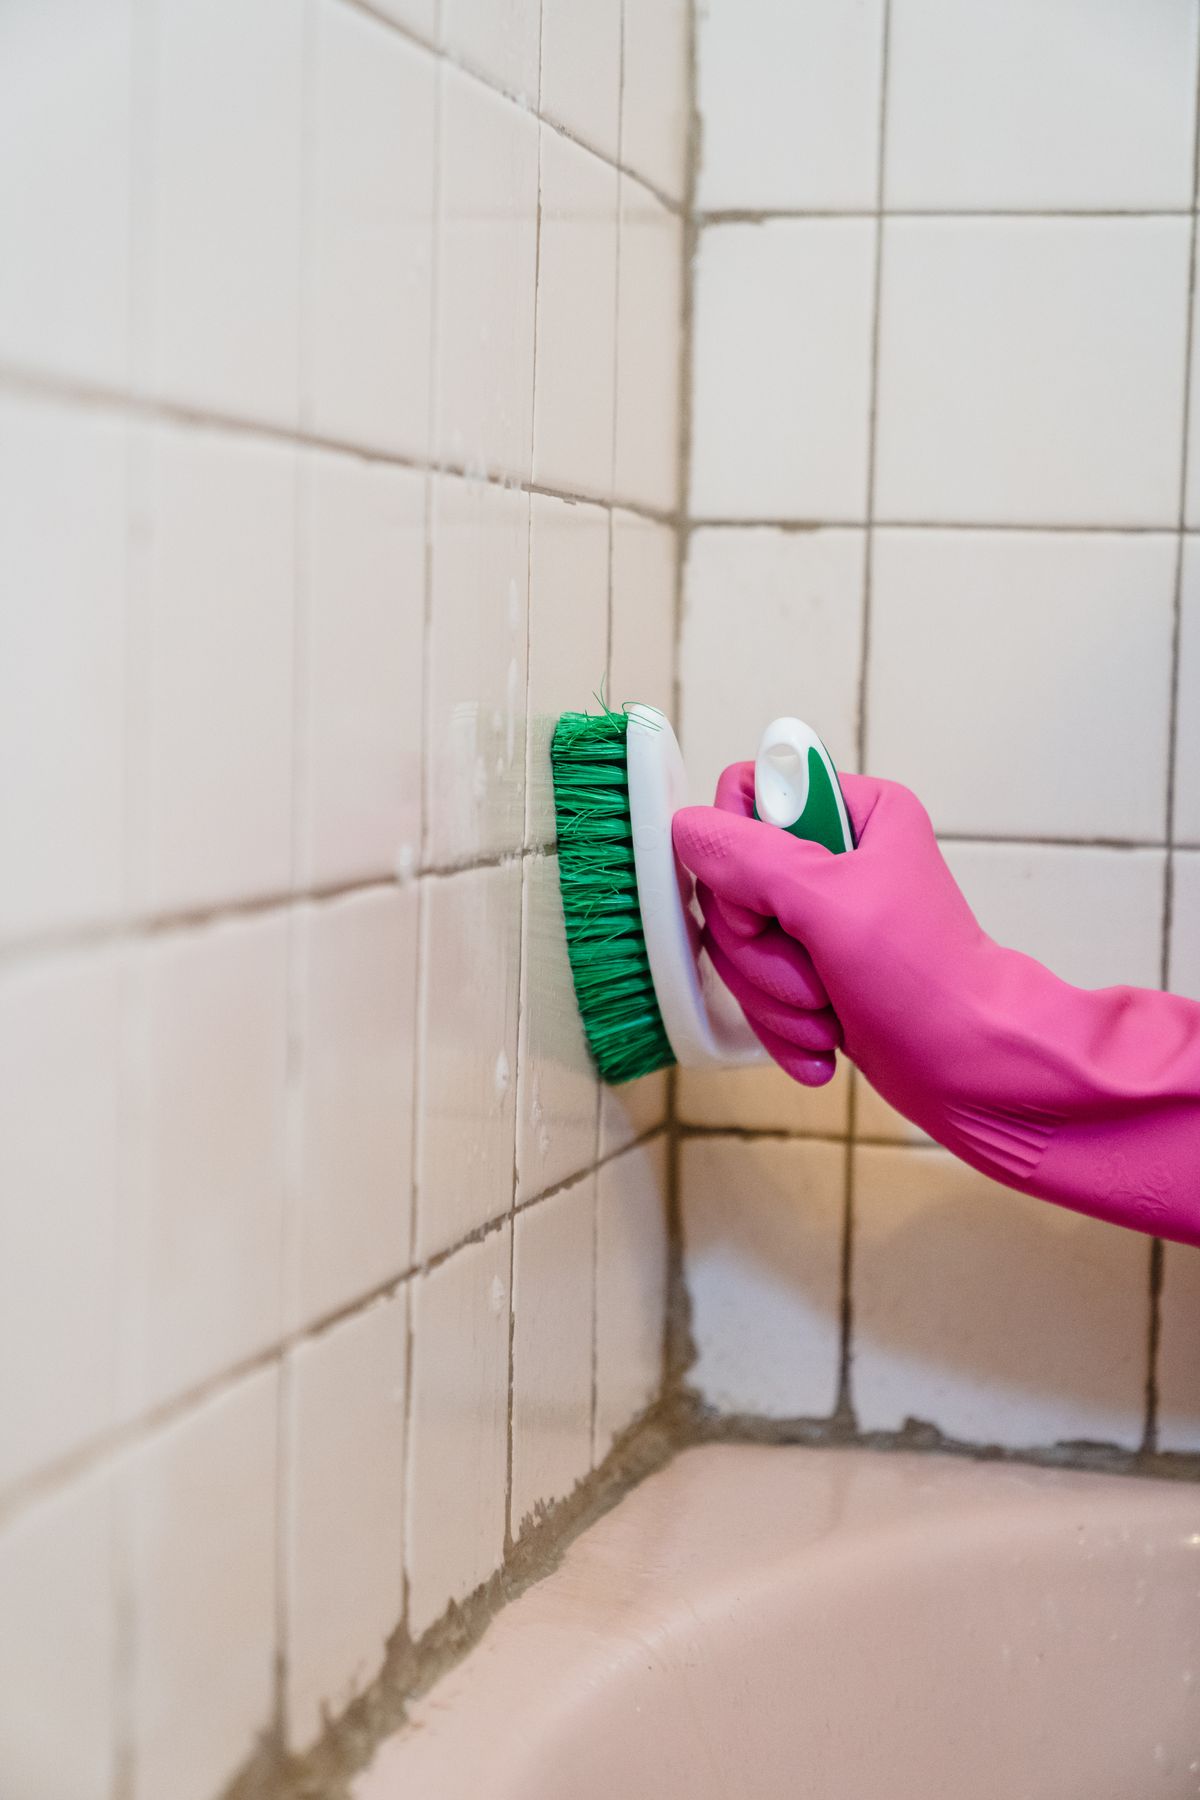
Remove loose dust and debris. Test a compatible cleaner on a discreet section, following its dose and contact time. Use a gentle tool that reaches the joint without scratching tile edges. A metal brush is not a useful shortcut. If the result is satisfactory, proceed in manageable sections and remove residue as directed. Treating the entire wall at once can leave some areas drying with cleaner still on them while you are working on the first section. Controlled progress also makes an adverse reaction easier to notice.
Watch where acids can reach
Vinegar and descalers are not universal grout treatments. They can affect sensitive stone and nearby materials, and the grout itself may impose restrictions. Do not spray without checking where the product will land. Protect surrounding components appropriately and avoid combining formulas to attack different marks. If another product has already been used, follow its removal instructions before considering a subsequent treatment. A shower floor, metal drain and wall tiles may all appear to need cleaning but still require different compatibility checks.
Notice what returns after cleaning
A joint that crumbles, develops gaps or pulls away from an edge cannot recover its function through harder brushing. Cracked flexible sealant is not repaired by whitening it either. Record the problem and ask what needs renewing and why. Where darkening returns quickly or the wall stays damp, investigate water sources and ventilation. Painting over or covering a damp area can hide the symptom while delaying the necessary work. Persistent moisture deserves attention before investing in cosmetic improvement that may fail for the same reason.
Remove accumulated water where practical and let the bathroom dry using its intended ventilation. On floors, address spills before they remain along the joints for extended periods. Keep the material and cleaner names, particularly if the installer applied a sealer. Do not invent an automatic resealing interval without checking its guidance. A photograph of the clean area provides a comparison later, helping distinguish gradual use-related darkening from a local change following a leak. That record is more useful than treating every variation as a new stain.